|
|
|
|
|
Link and Unlink
If you want to manage relations among objects, regularly you need to do it in the object's editor. But for simple relations, Visualizer allows you to link and unlink objects by adding and removing nodes directly in the Visualizer View within the scope of service structures.
Adding the Nodes (Linking)
Example: Linking a System to the Subordinated Service
To link a System:
- Expand the sidebar.
- Choose the 'Plus' sign in the sidebar header.
- Select a layer level of the the Visualizer View where you want to add a new node.
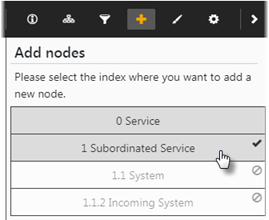
For example, let's select the Subordinated Service.
When selected, the corresponding layer is highlighted in the Visualizer View.
Note: You can add a node only to some layers.
- Select a node you want to add.
In this example, you can search for Subordinated Services or Systems.
Let's select a system.
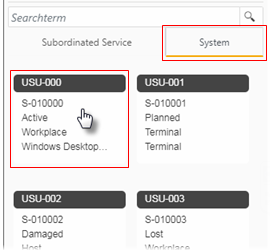
- Select a system.
- Drag the system node onto a subordinated service node in the Visualizer View.
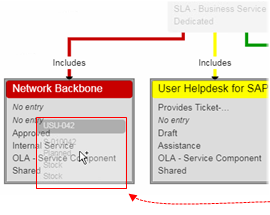
A confirmation dialog appears.
- Click OK to proceed.
The system is linked to the subordinated service.
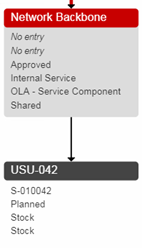
Note: The service-system relation is also visible in the classical edit view. Just right-click the node and open it in the edit view.
Removing the Nodes (Unlinking)
Example: Unlinking the System from the Subordinated Service
To unlink a System:
- Select a node.
- Right-click to call the context menu.
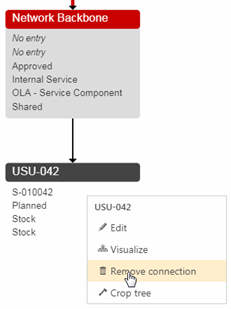
- Select Remove connection.
The node is removed and the Visualizer View is rearranged accordingly.
Note: If there is a relation conflict, an error message appears. In this case, it is not possible to complete the unlink process.