|
|
|
|
|
Adding Nodes
To add a new node, simply select Add node (from the WCT's main bar or tool bar).
With the Add Node Wizard
If the Add Node Wizard is active, the dialog will guide you through the whole process of setting the additional parameters and will provide comprehensive guidance. Each screen in the wizard is explained in detail.
First, you have to specify the activity to be contained in the node. All activities are listed in the left hand area of the screen – the description of the highlighted activity is displayed in the right hand area of the screen.
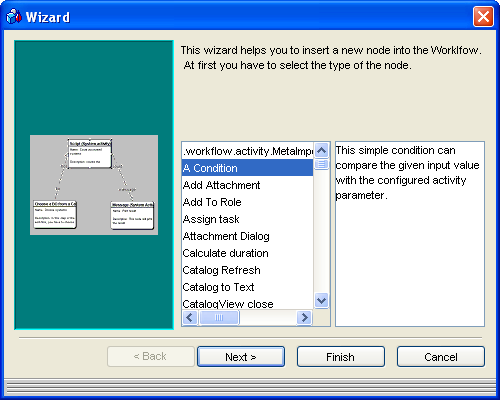
Selecting the type of the node
Next, you can enter the node name and description.
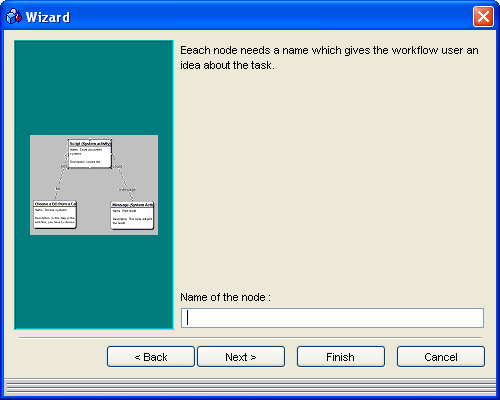
Entering a Name for the Node
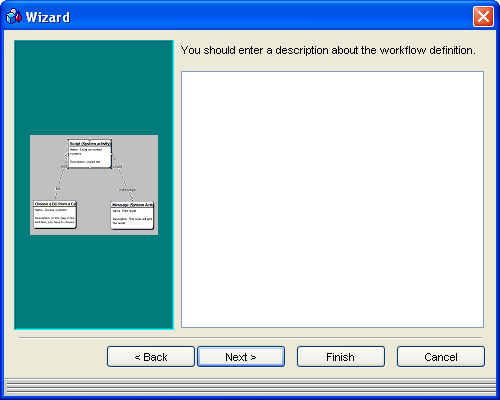
Entering a Description for the Node
Next, you have to specify the node flags (Automatically Started, Transient and Synchronization Lock).
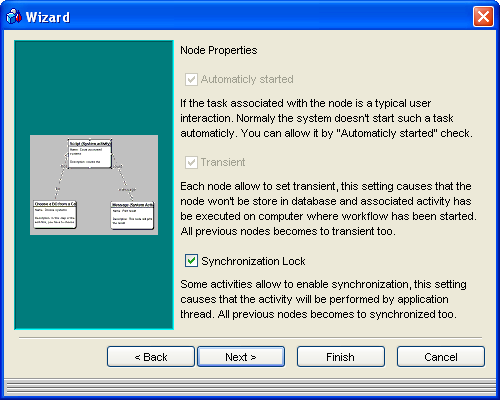
Specifying the node properties
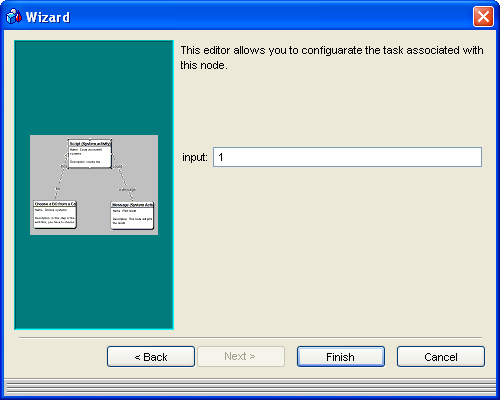
Next, you can configure the task associated with the new node.
Connecting nodes in the workflow
The Finish button ends the wizard and returns control to the WCT, with the new node displayed.
Without the Add Node Wizard
If the Add Node Wizard is not active, then you are presented with a dialog listing all activities available for being assigned to the node.
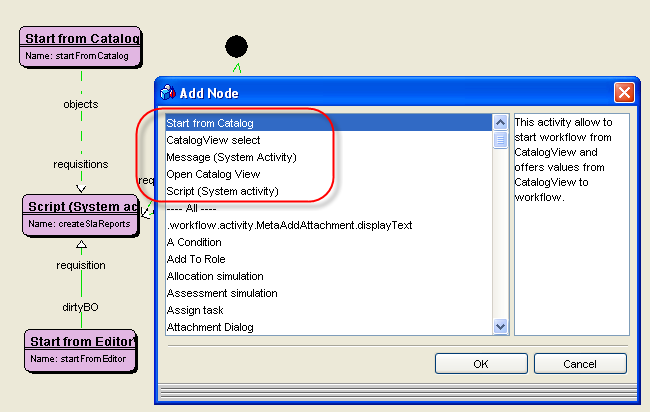
List of activities for Add Node
The upper part of the list provides a history of the recently used activities. As these are also likely to be the most often used ones, the history list can speed up activity selection from an otherwise long list. (Note: information about the used activities history is stored in Valuemation main parameters.)
Double-clicking an activity adds it to the workflow and closes the dialog. The node is created and placed amongst the other nodes in the graphical display. All other settings (e.g. Parameters etc) can then be specified in Node Properties.