|
|
|
|
|
Add a new Ticket Description
Use case scenario: If you want to add new information (e.g. additional information requested from the end user) to the ticket, you need to create a new ticket description.
The following actions are involved in the process:
Create |
This is the Create button in the Descriptions section of the Service Request editor. It allows you to create a new ticket description. |
General Visibility |
A check box which enables you to make the description visible to the end user.
|
To add a new ticket description:
- Click the Create button in the Descriptions section of the Service Request editor.
- Select a Statement Type (the standard is 'Comment').
- Fill in a Ticket Shorttext and a Description.
- Optionally, you can use the Checklist-Entry field to add some structured information to the description.
See 'Checklists in Ticket Descriptions' below for more information.
- Check the General Visibility check box to make the description visible to the end user.
- Click OK to proceed.
Note: By accepting a Service Request by the 1st Level from a Call Center, the overall responsibility is changed to the 1st Level.
|
Checklists in Ticket Descriptions
A ticket description can be optionally supplemented with additional information structured in the form of a checklist questionnaire. This is done by attaching an object of the 'Questionary' object type to the ticket description.
To add a supplementary checklist to a ticket description:
- Locate the Checklist-Entry reference view on the Master tab of the ticket description editor.
- Click the Add new button in the reference view.
A browser of available questionnaire types opens.
- Select one of the predefined questionnaire types.
Examples include 'General Interruption', 'Network not available' or 'Phone Change Requirement'.
- Click OK in the browser to confirm your selection.
A new questionnaire of the selected type opens in its own editor.
- Fill in relevant fields and click OK to proceed.
The questionnaire editor closes and the newly created object is linked to the ticket description.
It can be re-opened for editing by clicking the 'Edit' button in the 'Checklist-Entry' reference view.
The attached checklist questionnaires are primarily intended for use with ticket descriptions of 'Checklist' statement type. While their use with ticket descriptions of other statement types is also possible, for 'Checklist' statement type attaching a questionnaire is mandatory.
Customization information: Each checklist questionnaire (or, more precisely, each questionnaire type) is represented by a separate view defined for the 'Questionary' object type. A new, customer-specific checklist questionnaire can thus be added by creating a new view for the object type and providing attribute translations corresponding to the type of data the questionnaire asks for.
The two images below provide an example of the predefined 'General Interruption' questionnaire type - the actual editor and its preparation in the view customizer.
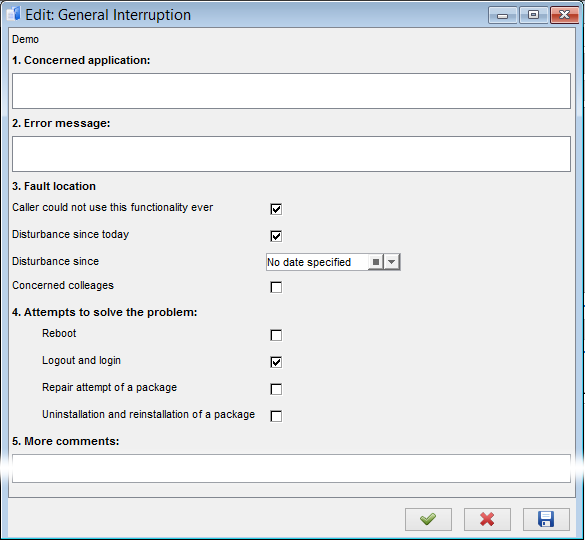
General Interruption - questionnaire editor
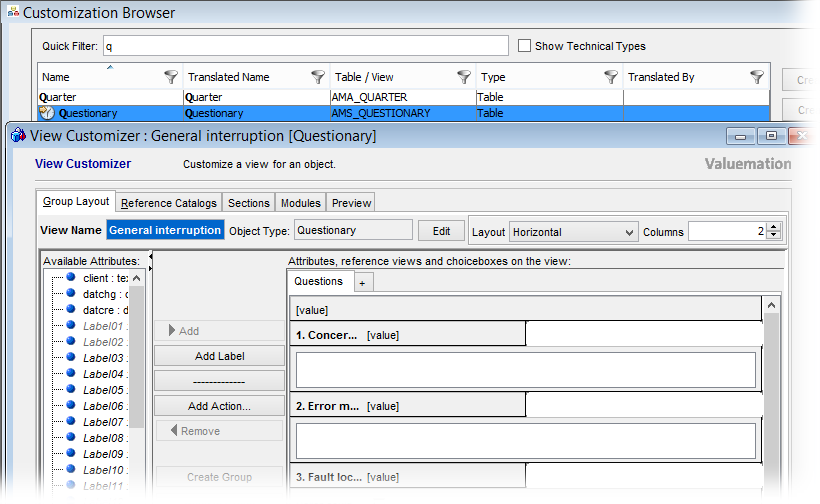
General Interruption - view customization