|
|
|
|
|
Starting Points
The ‘Print To PDF’ functionality is available in both the Rich and Web Clients. The following description is based on the Web Client.
The ‘Print To PDF’ action can be started from several places.
The typical starting points are:
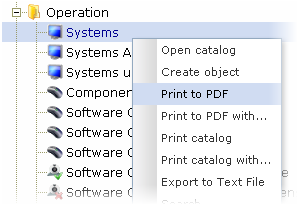
- A catalog in the Sidebar InfoObject.
Select the Print-to-PDF item from the right-click menu. This will print out the complete catalog into a well-arranged table.
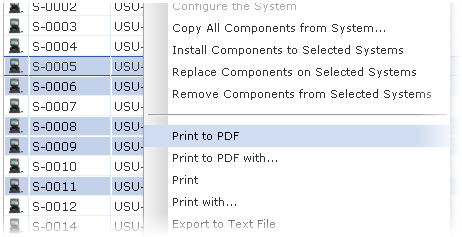
- The opened catalog with selected object(s).
Right-click in the catalog and select the Print-to-PDF item from the menu.
If a single object is selected only, the print output will contain a detail view of the object. If more objects are selected, the objects will be printed either as a table without particulars or indivudual objects with the detail views depending on settings in the report template.
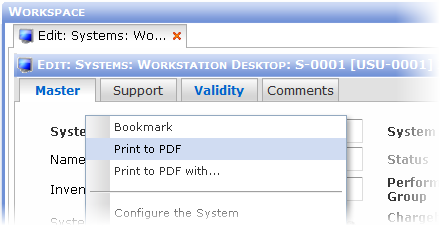
- The Editor.
Right-click anywhere in the Editor to invoke the menu and select the Print-to-PDF item. It enables you to print a detail view of the object in the Editor.
The detail view output depends on settings in the report template.
Note: Print-to-PDF action always uses the default report template (and its settings) for the print output.