|
|
|
|
|
1. Switch to the List tab and select the Role you want to work with from the Available Roles (Role Name) drop-down menu.
2. Switch back to the Permission to Object Types tab.
3. Choose by attribute value in the Select area. The Working Area now displays the fields for specifying attributes.

Selecting Permission entry by attribute value
4. Select the Business Object Type in the Object Type drop-down menu.
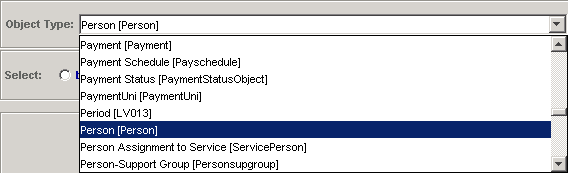
Selecting Object Type
5. Click the radio button next to the Field attribute combo box.
6. The list of attributes offered by the Field attribute combo box is now filled with the attributes of the selected BO Type. Click the left mouse button in this field to display and select the attributes in a treeview.
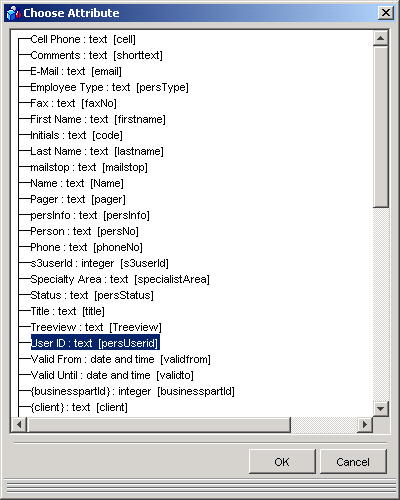
Selecting attributes in the Field attribute combo box
7. Click the radio button next to the Range text box (Value is default). Enter the lower and upper bounds the attribute should satisfy.
The authorization will apply to business objects of the given type with a value of the specified attribute within the given range.
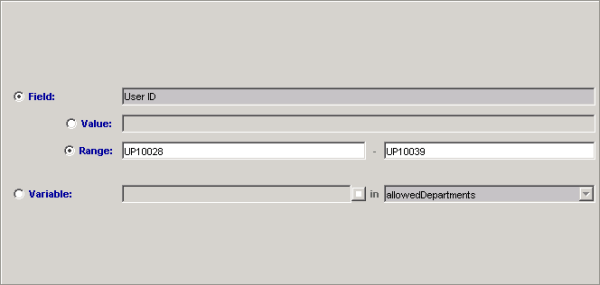
Working area: Authorization by Attribute (Value Range)
8. Set the value (Right) of the authorization using the Select Rights radio-button bar. The default setting of the control is No Read.
9. Add this authorization to the role by clicking Add button.
Note: See Preventing Conflicting Authorizations and Resolving Conflicting Authorizations topics for information about conflicting authorizations which may occur.
10. Click Apply to keep changes or, when prompted to save changes on exit, click OK to confirm.