|
|
|
|
|
This tab is used to specify general properties of the pages in the report.
- Use the Page Format button to change general format settings for the page (paper size, margins, orientation).
- The Floating Area settings are used to specify the size and position of the report's floating area. (Floating area is the part of the page where floating report items get displayed.)
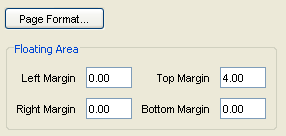
The Page Properties Tab
Floating area is specified relative to the margins of the normal page. Fixed report items can be anywhere within the image area of the page (the page area without the margins), floating report items can be located only within the floating area.
The X Type / Y Type report item position settings (see Table: Position) reference among others also the floating area, which is a handy tool for making sure that fixed and floating report items do not overlap (unless by design, of course).
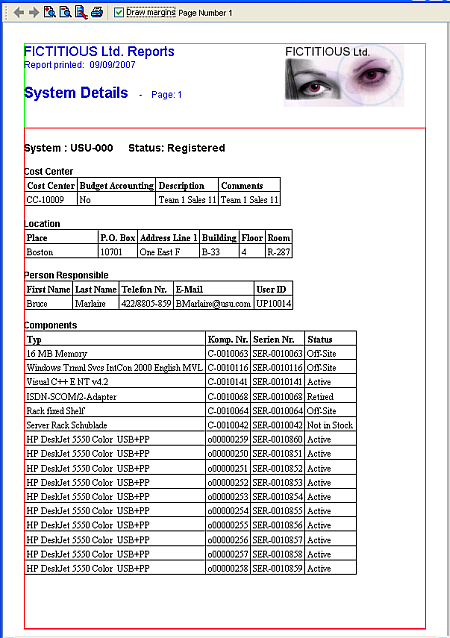
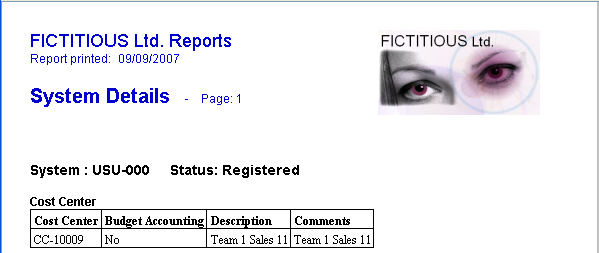
The example screenshot above has been taken from the Page Properties tab of the report captured below. As you can see in the image below, a 4cm high area (units are specified on the Options tab – see next topic) at the top of the report is used for the report heading. This heading, which includes the company name and logo, date of report printing, report name and current page, will be repeatedly displayed at the top of every report page.
Note: To see the position of the floating area explicitly, set the 'Draw Margins' check box at the top of the print preview window to true. The Floating Area is then indicated by a green outline, the remaining margins are indicated in red.