|
|
|
|
|
Data Entry
Although the Timeline view is primarily intended for data display and overview, the column part can also be used for data entry.
- inplace Editing
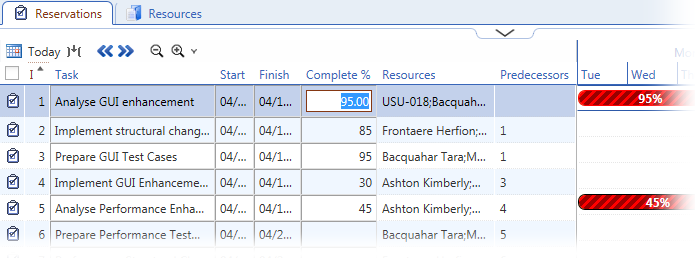
Attributes of the object type displayed by the Gantt chart can be edited by inplace editing directly in the column section. Click in the table cell to enable inplace editing (value gets highlighted with blue background) and type to change the value.
- Editing in the editor
Referenced attributes and attribute collections must be edited in the editor of the object type displayed by the Gantt chart. Double-click the table cell to open the object for editing, make the changes and save the object.
Example: In the Timeline view of Reservations, attributes such as 'Task' (name), 'Start', 'Finish' or 'Complete%' can be changed by inplace editing. To change attributes referencing other objects, such as 'Resources' or 'Predecessors', the reservation must be opened in the editor.
Columns in the Timeline view
When a catalog is switched to the Timeline view for the first time, only the first four catalog columns are displayed, the rest is replaced by the Gantt chart area. It is, of course, possible to add and remove columns as needed.
To add or remove columns displayed on the left side of the Timeline view, right-click anywhere in the column header and use the 'Columns' context menu item.
Move Up - Move Down
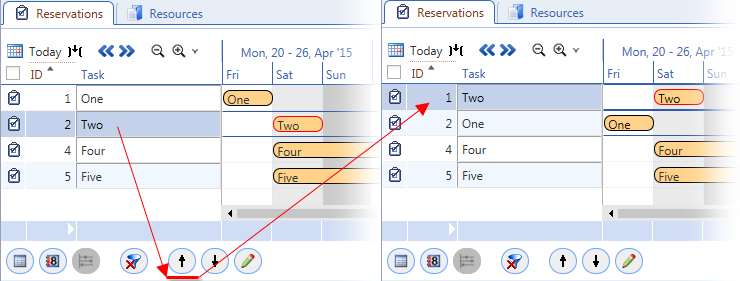
The Move Up and Move Down buttons at the bottom of the Timeline view change the ID attribute of the currently selected object by an increment of 1 while simultaneously adjusting IDs of other objects so that uniqueness of IDs is maintained. This results in the selected object being moved up or down in the table and Gantt chart.
Context Menu Functions
Right-click context menu in the Timeline view contains the same items as other catalog modes of the given catalog.
Example: Right-click context menu in the Timeline view of Reservations provides standard actions available in Reservation catalogs.
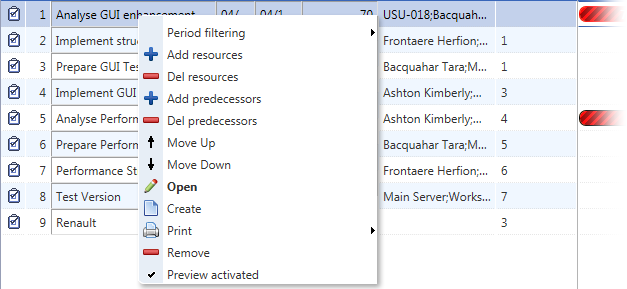
Item 'Period Filtering' (available also in other catalog view modes) is worth mentioning in connection with the Timeline view as it enables filtering of the catalog to display only rows containing data in the selected filter period.