|
|
|
|
|
Assigning a Formatter to a Control
Proceed through the following steps in order to assign a formatter to a control:
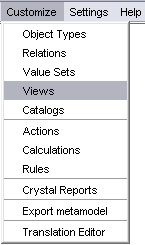
- Open the View Customizer from the Customize menu.
The All Views window gets opened.

- In the Objecttypes pane of the window, choose the object type whose view needs to be edited. The Views pane lists all views available for the selected object type. Select the view containing the control whose formatter you want to assign or modify and press Edit to open the view editor. (Alternatively, you could open the view editor by double-clicking the view's name in the list).
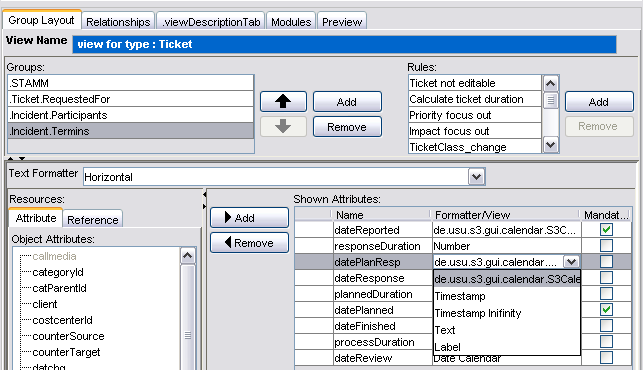
- In the view editor, use the Groups list to select the tab on which modifications should occur. The bottom part of the window has changed to reflect the content of the selected tab (group). Now, two courses of action are possible:
- If you first need to add an attribute to the view tab, select this attribute in the Resources pane on the left and use the Add button to add to the view.
- If you just need to modify an attribute's formatter, select the attribute in the list of Shown Attributes and use a dropdown list in the Formatter/View column to choose one of the available formatters.
- Press Apply to confirm the changes.