|
|
|
|
|
Print Preview
The print preview displays the report data together with the formatting as currently specified in the template. This allows you to make corrections and improvements before using the printer.
Calling the print preview
Reports Catalog
There is no special 'Print preview' function in the 'Reports Catalog'. Instead, print preview is automatically launched when the 'Print' function is called. Having checked the output, you then initiate printing from the print preview. (See Print Preview description below.)
Report Editor
To preview a report from the 'Report Editor', use the 'Print Preview' button found in the editor's main toolbar.

Print Preview Functions
The following function buttons can be found in the 'Print Preview' toolbar:
Button |
Function |
|
View previous page of the report |
|
View next page of the report |
|
Zoom in |
|
Zoom out |
|
Change Page Format. Calls standard page setup dialog. |
|
Print the report |
Additionally: |
|
|
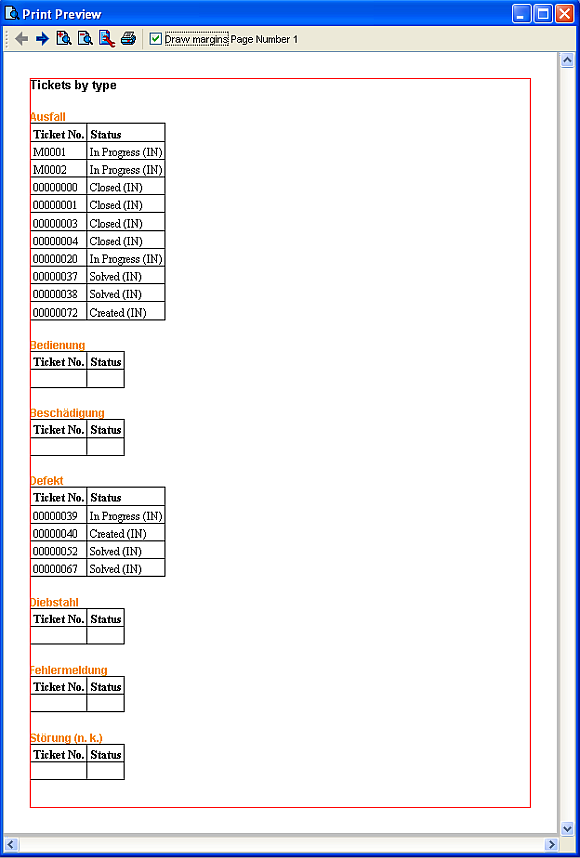
Draw Margins check box: Set to true if you would like to see report margins relative to the edge of the actual paper (see example image below). The margin is drawn as a red outline. The outlines for fixed and floating areas are displayed separately. The area for floating items is outlined in green. See 'Report Items: Fixed vs Floating' for more information. |
|
Indicates number of the currently displayed page |
Example:
A print preview with 'Draw margins'=True might look something like this: